
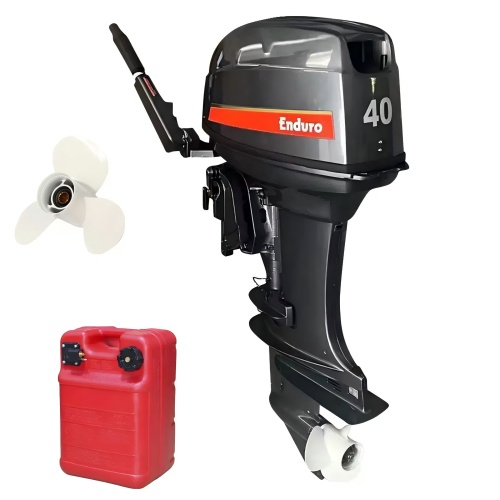
Yamaha 15 HP Propeller Replacement
Replacing the propeller of a Yamaha 15HP outboard motor is a technical task that requires meticulous operation. The following steps are organized in combination with professional maintenance manuals and practical experience to ensure that you complete the replacement safely and efficiently. Please be sure to wear protective gloves and goggles before operation, and operate on a stable surface.
1. Preparation
Tools and materials
Required tools:
Open-end wrench or socket (matching the propeller nut size, usually 17-19mm)
Rubber hammer or mallet
Pliers (for removing cotter pins or washers)
Grease (waterproof type, such as marine lithium grease)
New accessories:
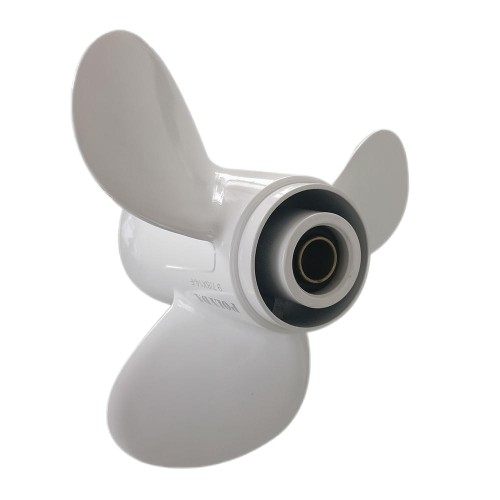
Yamaha 15 HP special propeller (reference model: common sizes of aluminum propellers such as 10-1/4"×12" or 10-3/8"×11", need to match the original number of teeth) 36
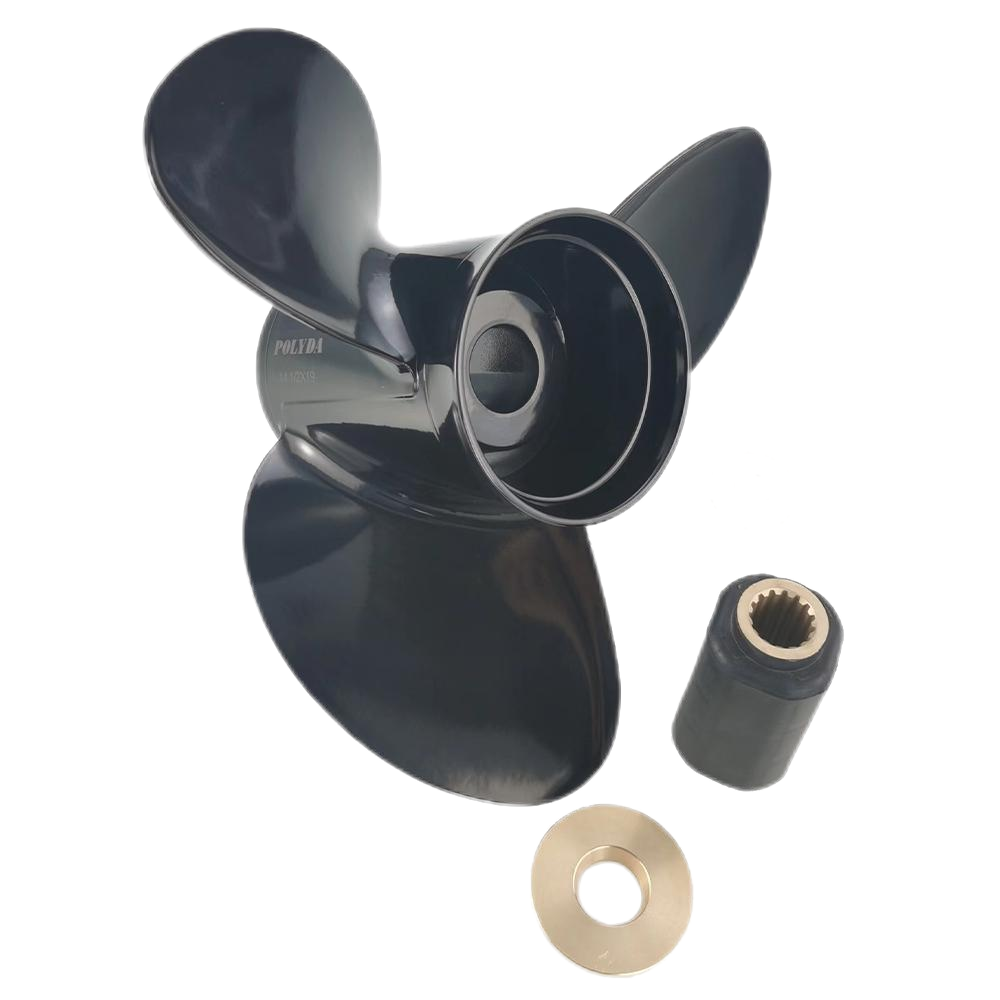
New thrust gasket, rubber buffer sleeve (usually included with the new propeller)
Cotter pin/lock nut (if the old part is damaged)
Safety measures
Turn off the engine, remove the ignition key, and make sure the drive shaft is in neutral.
Fix the outboard motor with a bracket to avoid the risk of tipping.
2. Remove the old propeller
Remove the locking device:
Remove the cotter pin (if any) at the tail of the propeller nut with pliers2.
Use a wrench to loosen the nut counterclockwise (note: the nut is designed with reverse threads, i.e. clockwise is loose)6.
Remove the propeller assembly:
After removing the nut, remove the following parts in sequence:
Nut gasket
Thrust washer (metal ring)
Rubber cushion sleeve (key shock-absorbing component)
Old propeller body
If the hub is rusted and stuck:
Tap the side of the blade with a rubber hammer (do not hit the edge of the blade) and penetrate with lubricant8.
Do not use a metal hammer to avoid deforming the propeller shaft or gearbox!
Clean the drive shaft:
Remove rust or residue on the shaft with fine sandpaper, wipe it with a cloth and apply a thin layer of grease1.
3. Install the new propeller
Assemble the parts in order (from the shaft end to the outside):
plaintext
Drive shaft → new rubber cushion sleeve → new propeller → thrust washer → gasket → nut
Make sure the groove of the rubber cushion sleeve is aligned with the drive shaft pin key (anti-rotation slip)16.
Tighten the nut:
Tighten the nut manually until it fits, then use a wrench to add 1/4 turn (about 30°).
Do not over-tighten! Otherwise, the rubber sleeve will be squeezed and fail prematurely2.
Locking and anti-loosening:
Insert a new cotter pin, open the two legs and lock them (if there is no cotter pin design, use a nylon locking nut instead)6.
IV. Test and adjustment
Land test:
Rotate the propeller manually to confirm that there is no friction noise and the rotation is smooth.
Check whether the gaps between the components are uniform.
Water trial:
Start the engine and run it at low speed to observe the vibration.
Gradually accelerate to medium and high speeds to test the thrust response and speed stability:
Abnormal jitter → Recheck the installation position of the buffer sleeve.
Acceleration is weak → Confirm whether the propeller pitch matches (such as the original manufacturer's recommendation of 10-1/4"×12")6.
V. Key considerations
Propeller selection:
Aluminum propeller: light and rust-proof, suitable for shallow waters (sacrifice the blades to protect the gearbox when it is easy to hit reefs)6.
Stainless steel propeller: efficient and durable, but expensive and may damage the drive shaft when impacted3.
The buffer sleeve must be replaced: the aging of the old sleeve will cause power transmission to slip and accelerate wear1.
Regular maintenance: Check the tightness of the nut every 100 hours or quarterly, and replace the grease every year27.
When professional maintenance is required:
Drive shaft bending (manifested as eccentric swing of the propeller)
Gearbox abnormal noise (metal friction sound when idling after removing the propeller)7
If the above problems occur, they need to be sent for repair to avoid damage to the power system.
 choose correct propeller